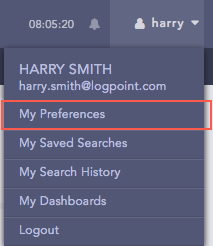
Go to My Preferences to customize your personal settings. For customization, click the drop-down menu with your username at the top-right corner of the interface and select My Preferences.
My Preferences
The different sections of the preferences pop-up panel allows you to customize your settings.
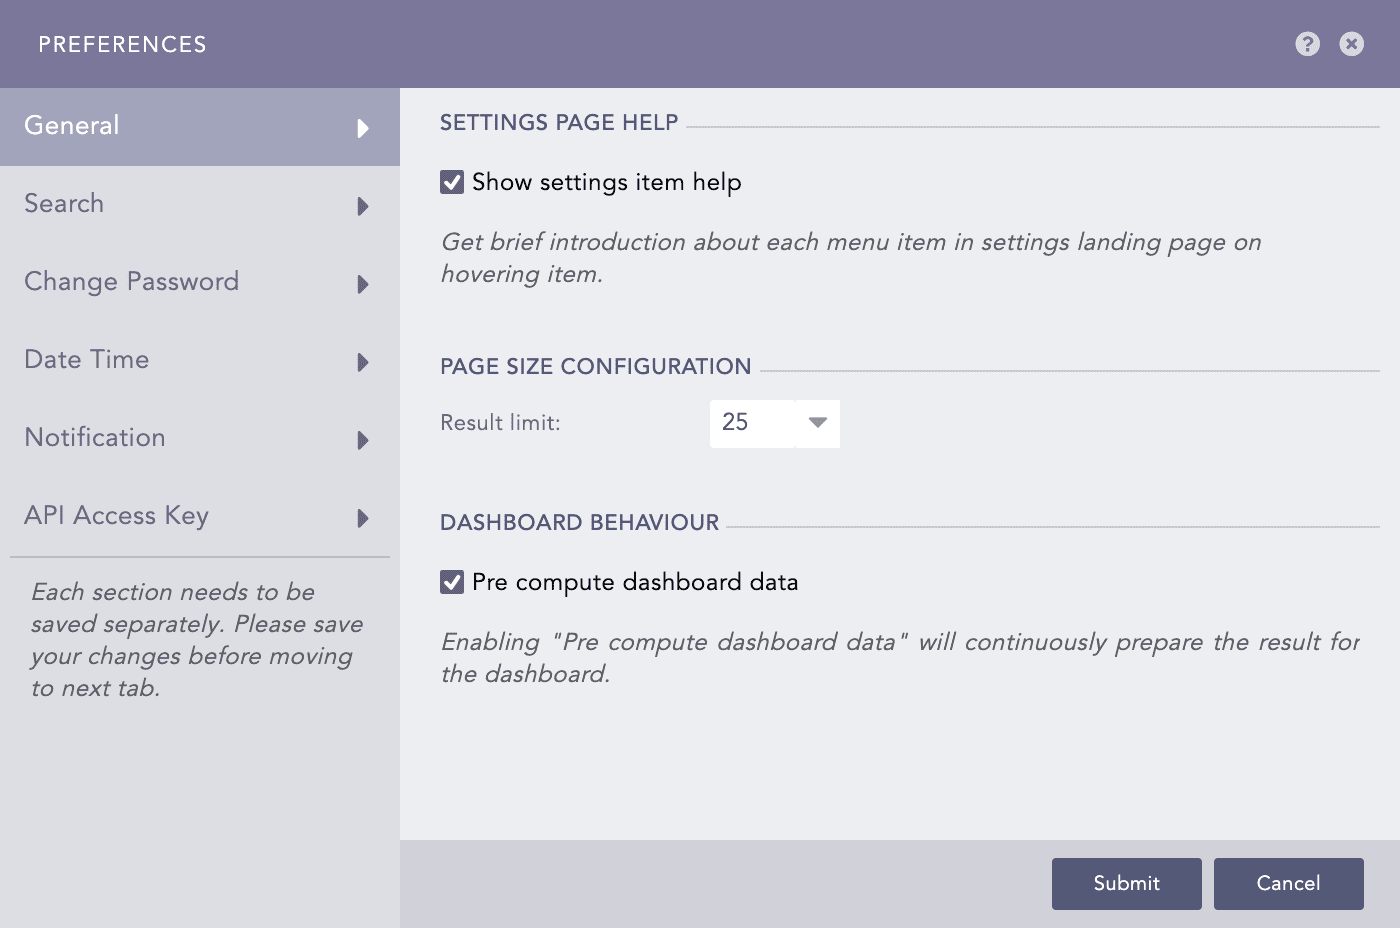
General
Select the Show settings item help to display help on items in Settings section. Hover over the items to see details of the intended Settings item on the right side of the screen.
Select a Result limit from the drop-down menu to specify the display limit of search results and the Page size. The Page size determines the maximum number of rows to be displayed per page in Settings and Reports pages.
Enable the Pre compute dashboard data option to be continuously prepare the result of the dashboard, even if the dashboard is not viewed.
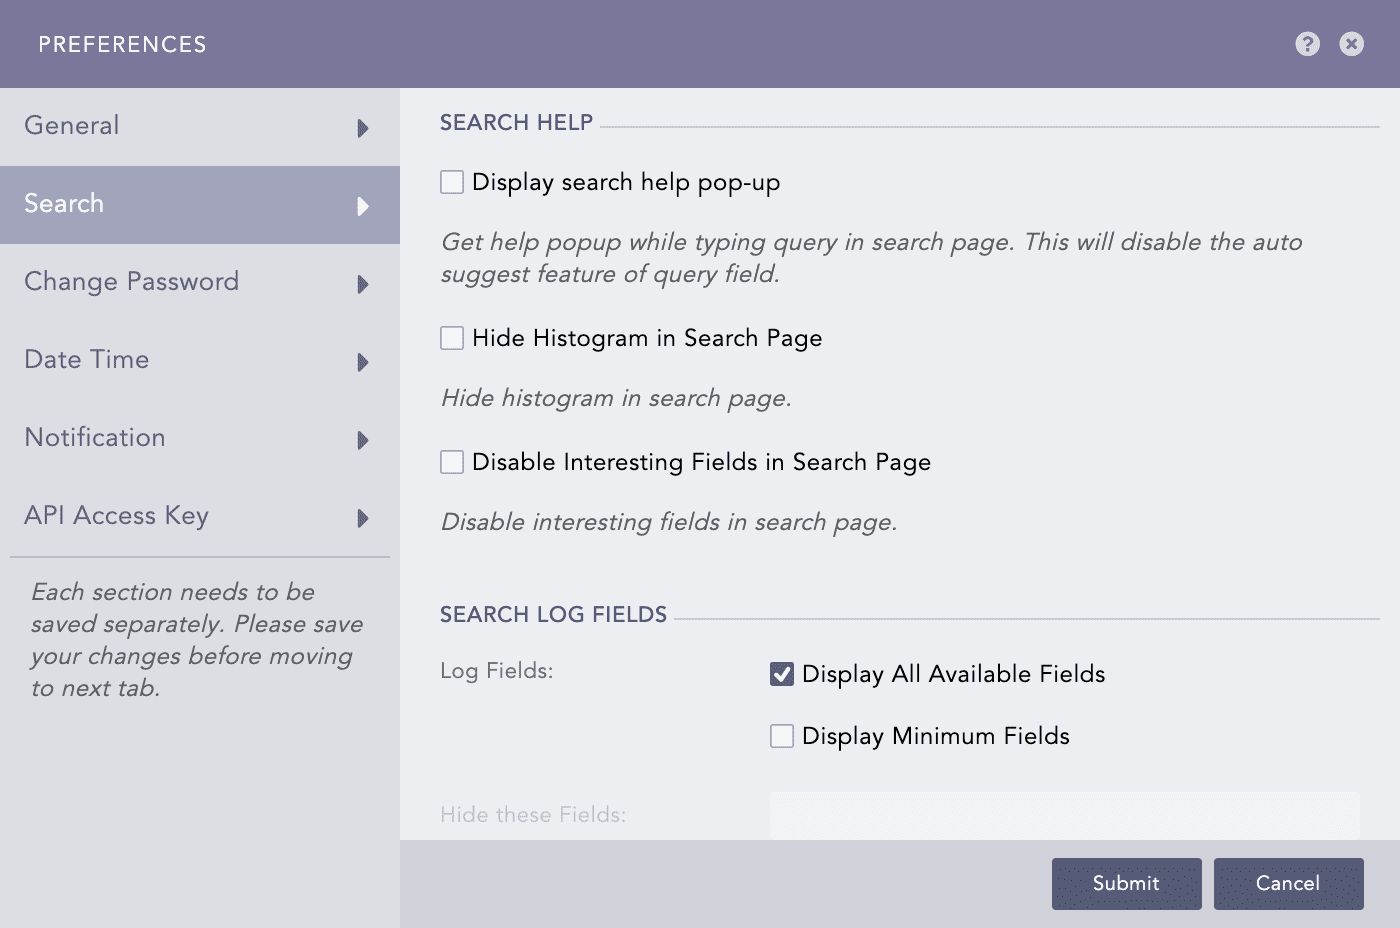
Search
Enable Display search help pop-up to display the drop-down for search assistance while writing a query.
Enable Hide Histogram in Search Page as per your requirement.
Select Disable Interesting Fields in Search Page to hide the Interesting Fields window from the Search page.
Select the Display All Available Fields to display all the available log fields in the result of the query. Similarly, select Display Minimum Fields to display only the default fields.
Enter specific fields to hide in the Hide these Fields text box.
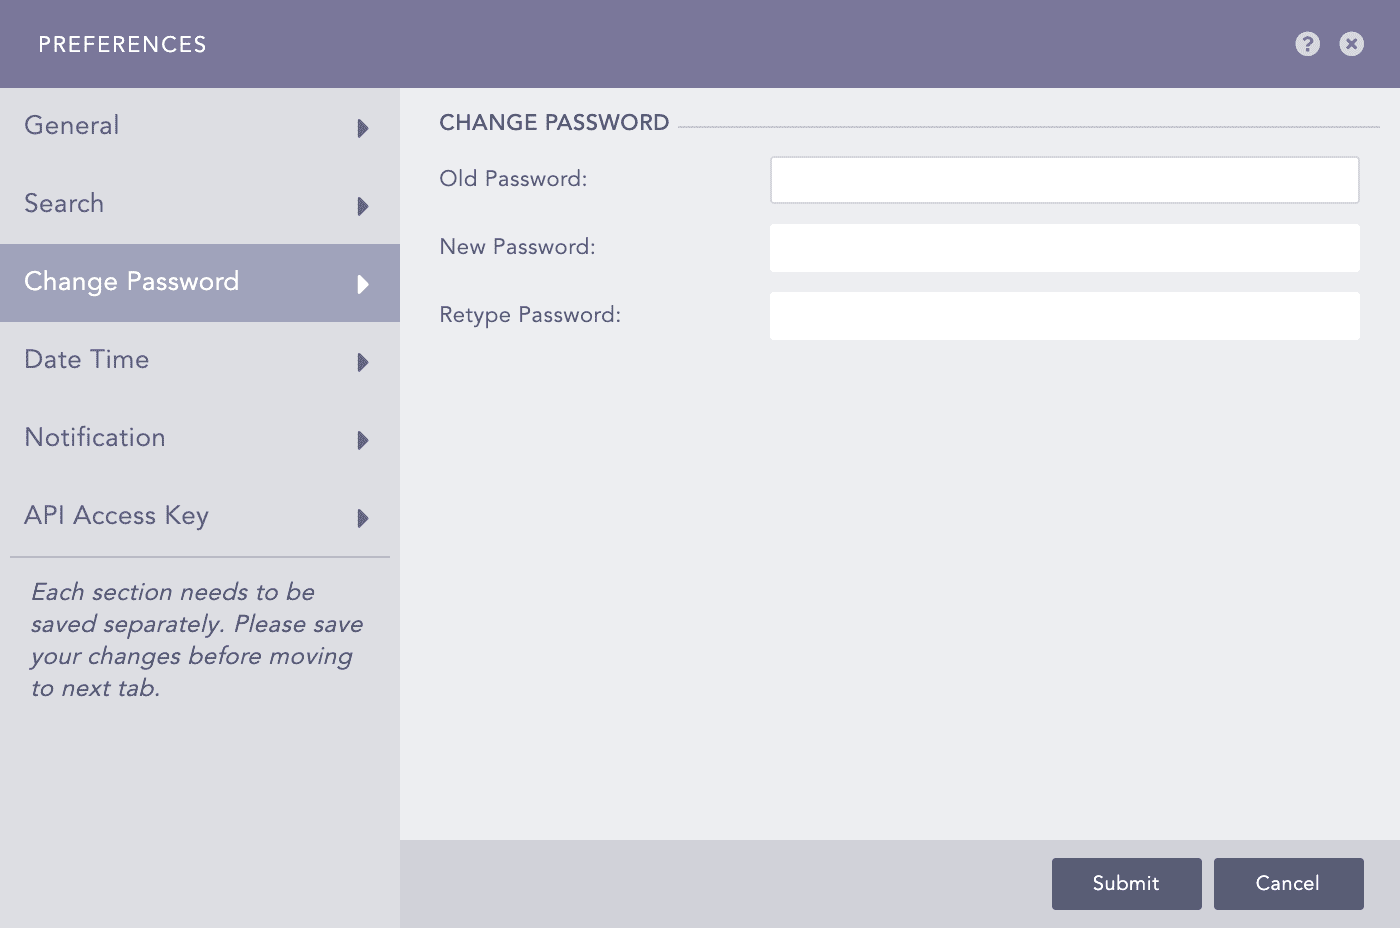
Change Password
Enter the Old Password, New Password, and Retype the new password to change your password.
Note
The Change Password tab is only visible to the users authenticated with LogPoint’s basic authentication.
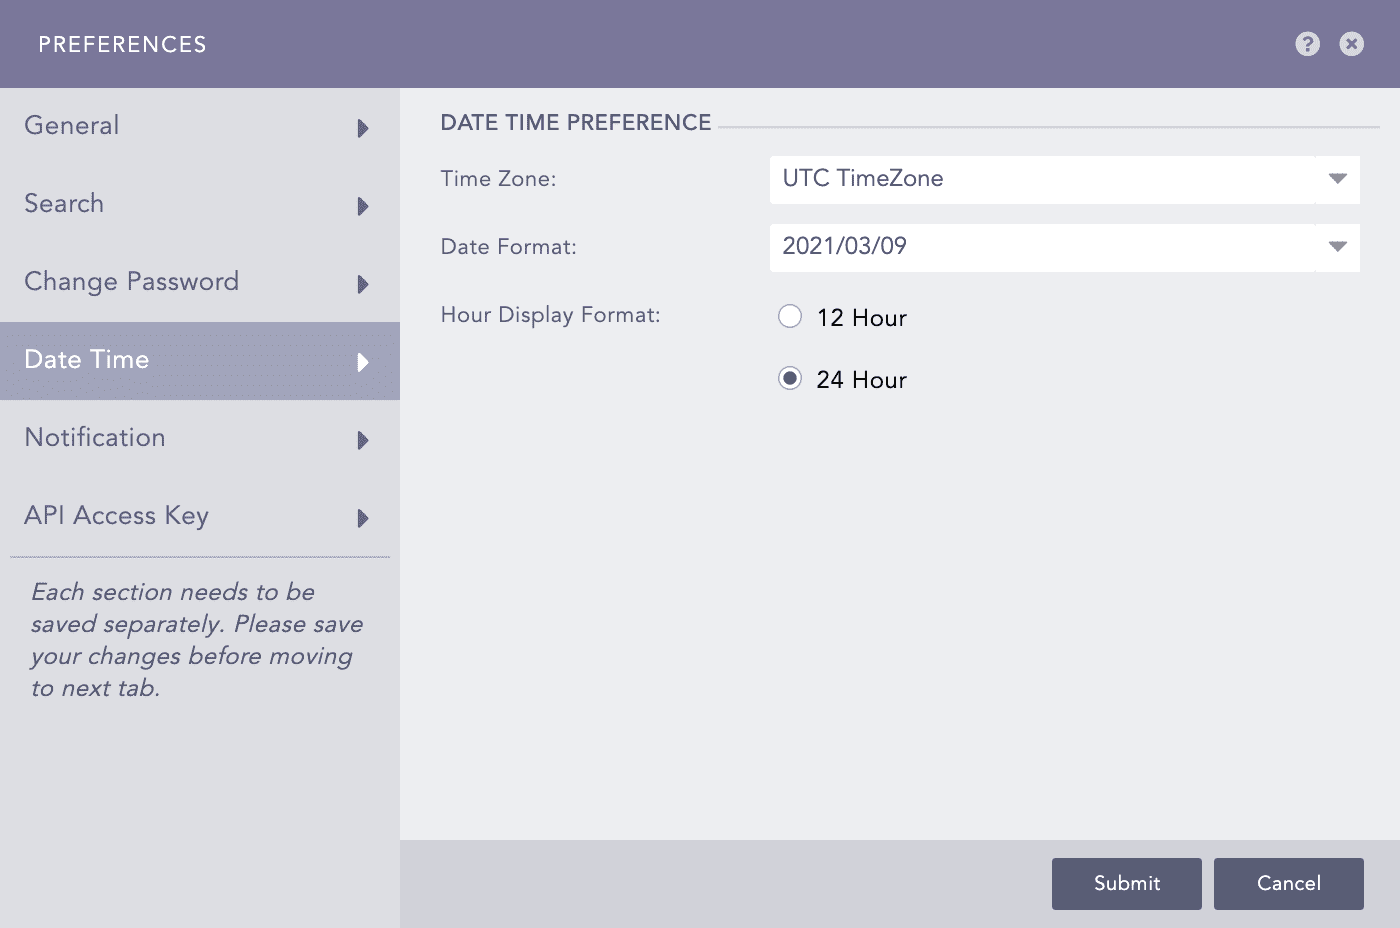
Date Time
Select a Time Zone, a Date Format, and an Hour Display Format.
Note
The logs are collected in Coordinated Universal Time (UTC) irrespective of the Time Zone you select.
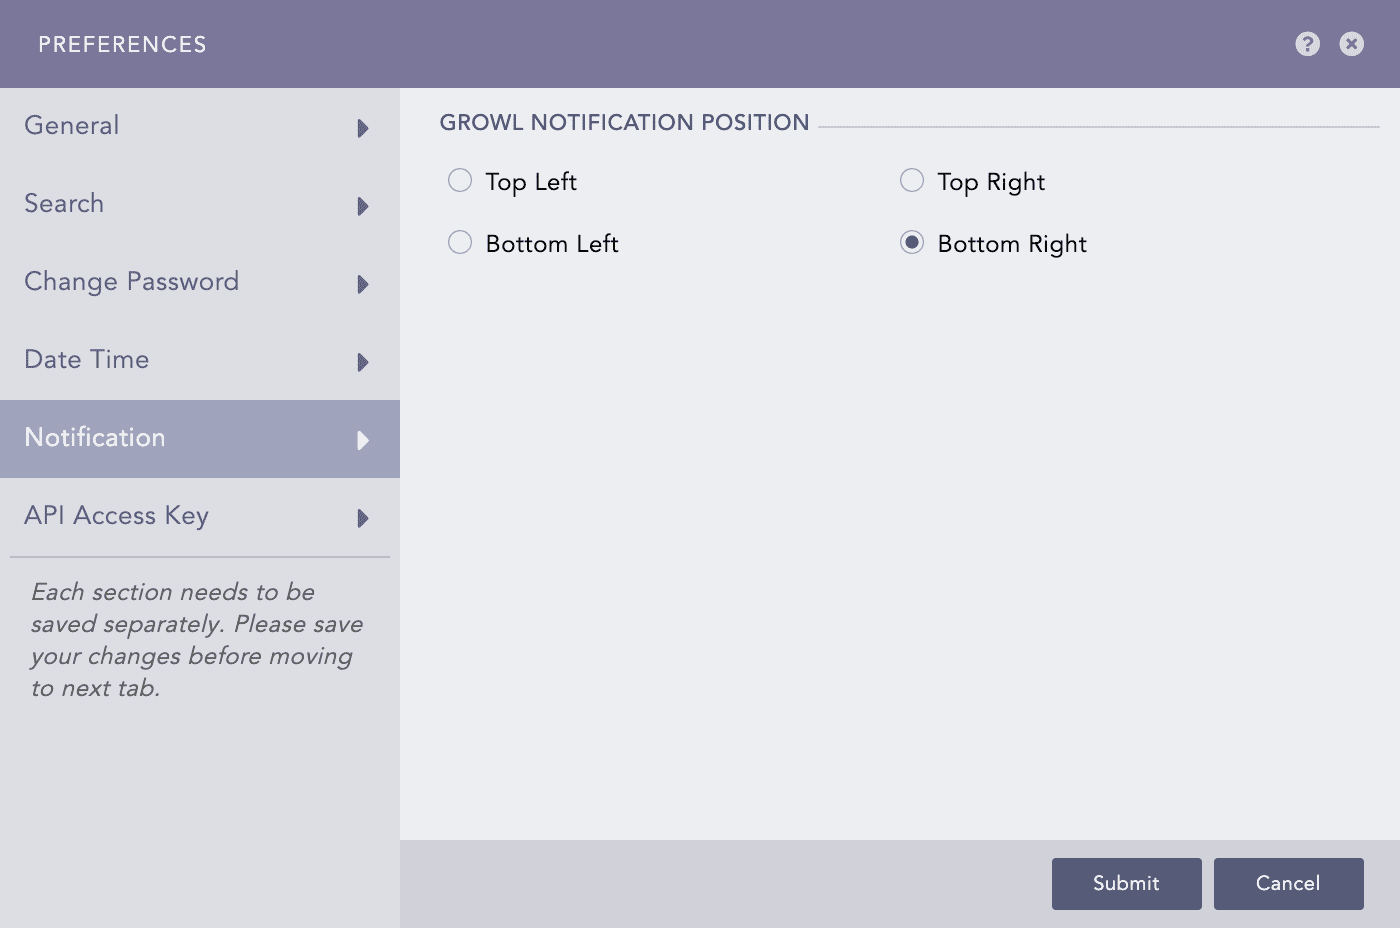
Notification
Select Top Left, Bottom Left, Top Right, or Bottom Right to position the notification.
The Access Key is a unique identification for each user. You can use it to access API endpoints exposed by LogPoint.
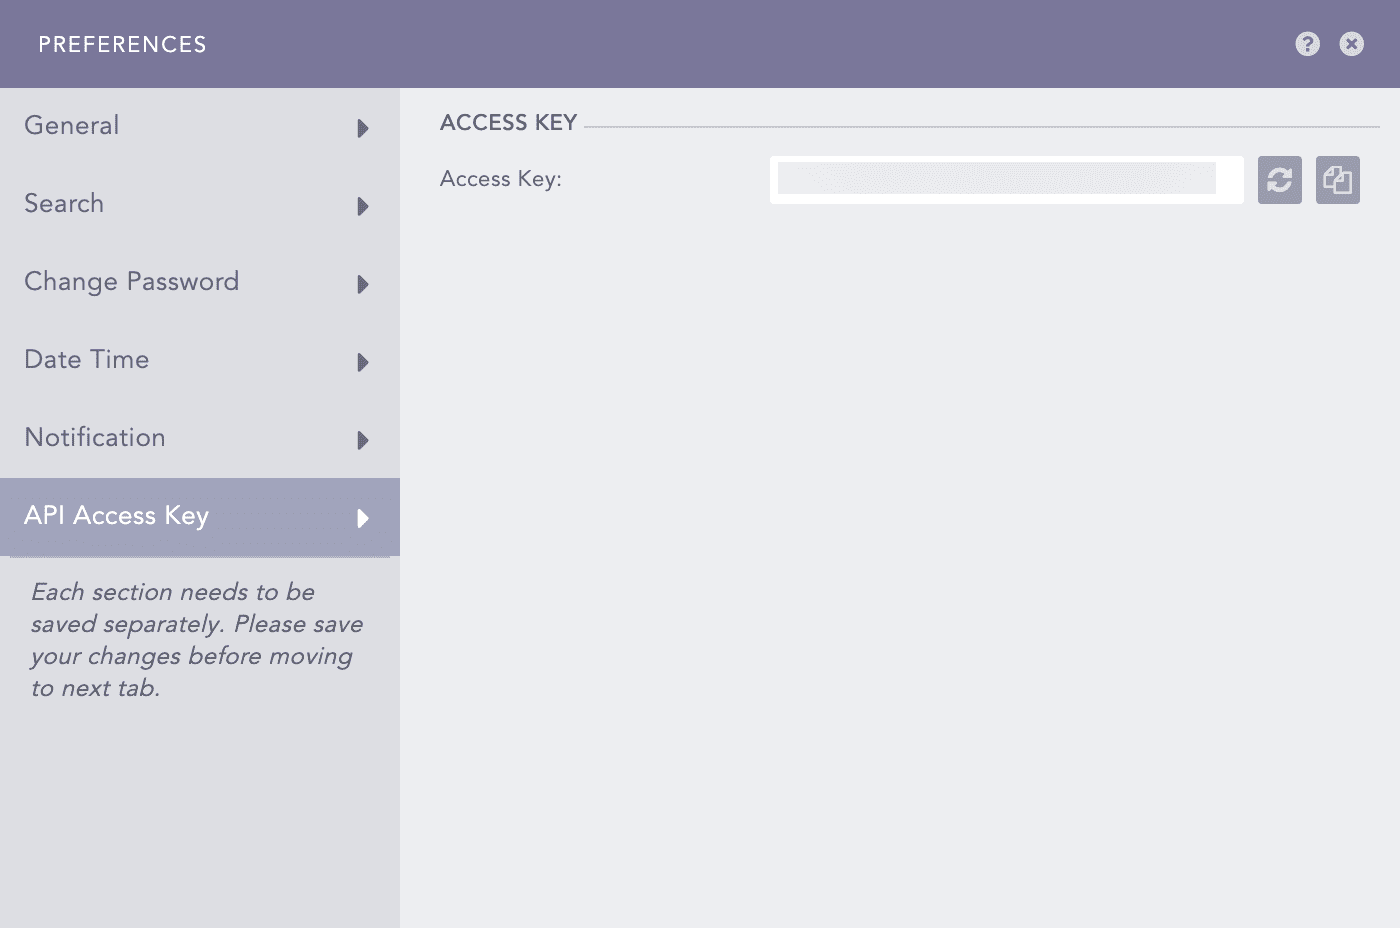
Log Fetching Key
Click the Re-generate button to generate a new access key and the Copy button to copy your access key to the clipboard.
Note
Once you generate a new access key, you cannot use the previous key.